KDE Code Contributing: A layman-oriented tutorial
I always thought contributiong to a project should be easily understood. So I recorded the whole process and made this tutorial. I want every step to be as easily understood and as determenistic as possible.
So, let's begin!
Step 1: Setting up distrobox (optional)
In this tutorial we will use distrobox. You may skip this step if you want to build on your main system. To install distrobox you may consult your dirstro's way of installing packages:
- Ubuntu/Debian:
sudo apt install distrobox podman - Fedora/RHEL-adjacent:
sudo dnf install distrobox podman - SUSE:
sudo zypper install distrobox podman - Arch-adjacent:
sudo pacman -S distrobox podman
After the installation is done we will create a home directory and use the latest fedora image for our distrobox.
mkdir -p ~/kde-envdistrobox create -i fedora:latest -n kde-env -H /home/$USER/kde-envdistrobox enter kde-env
You will need to install other tools inside the distrobox for your usecase or be aware that distrobox may hinder
the access to your host’s tools, (eg. Git may have issues when used on a distrobox directory from the host
instead of inside distrobox). In our case, we will install nano, git and uv inside our distrobox as well every
dependency we need for our kde environment. It is also recommended to install qtcreator for this tutorial since
the app we are going to compile is easier to edit with it.
Inside our distrobox:
sudo dnf install nano git uv qt-creator
Step 2: Setting up kde-builder
To install kde-builder you have to have git and uv installed.
If you followed Step 1, you don't need to install git and uv in your host.
- Ubuntu/Debian:
sudo apt install git uv - Fedora/RHEL-adjacent:
sudo dnf install git uv - SUSE:
sudo zypper install git uv - Arch-adjacent:
sudo pacman -S git uv
After installing git and uv:
Inside our distrobox or your dev environment:
uv tool install git+https://invent.kde.org/sdk/kde-builder.gitkde-builder --generate-configkde-builder --install-distro-packages- To update:
uv tool upgrade kde-builder
Now we can let kde-builder take care of the dependencies while we do the next steps.
Step 3: Setting up an invent.kde.org account
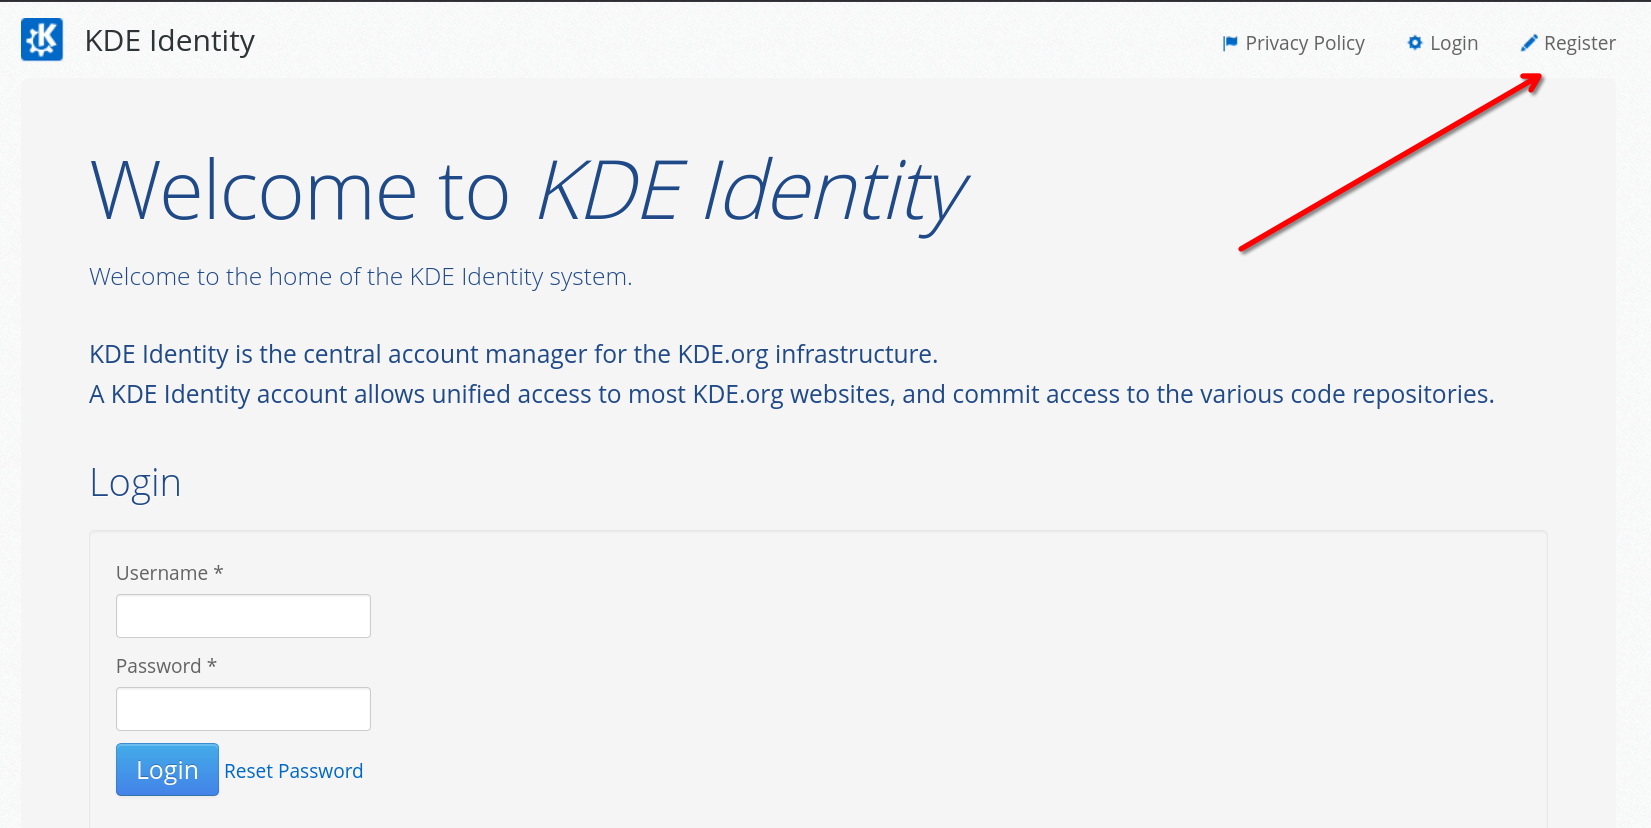
Please head to https://identity.kde.org/ and click “register” on the top right:
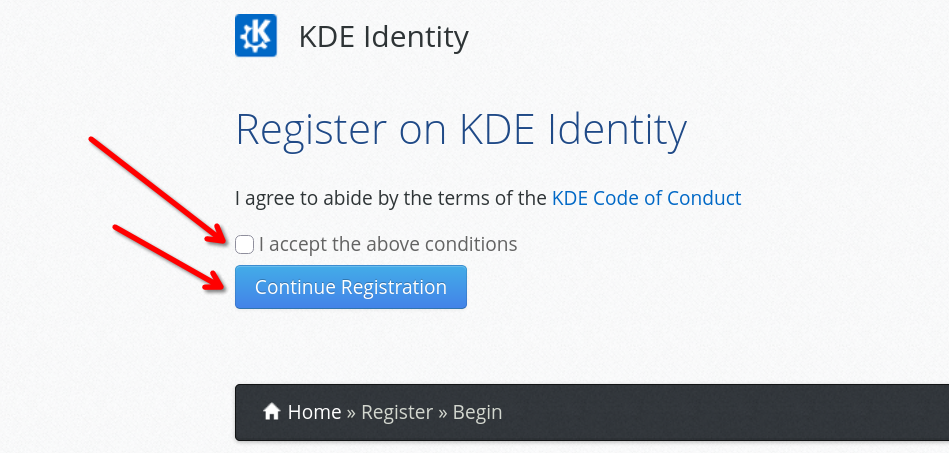
Then accept the KDE code of conduct (if you agree, otherwise you can’t follow this tutorial). Afterwards, click “Continue Registration”.
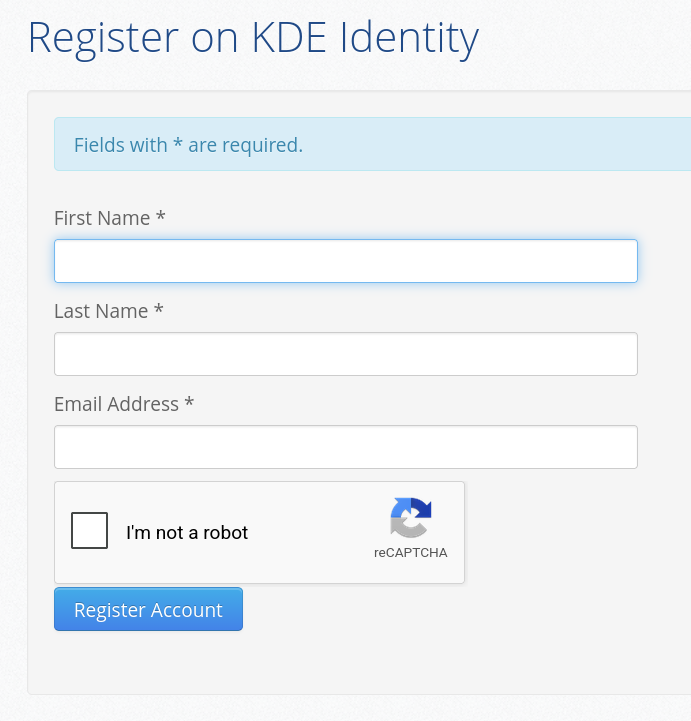
Next, you will need to fill in your name and email and please use your real name or an alias you remember and a real email as you will receive a mail confirmation request and we will need your email and your name in the next steps. You will also be asked to assign a password and username to your account. This username and password will be the same ones used in invent.kde.org
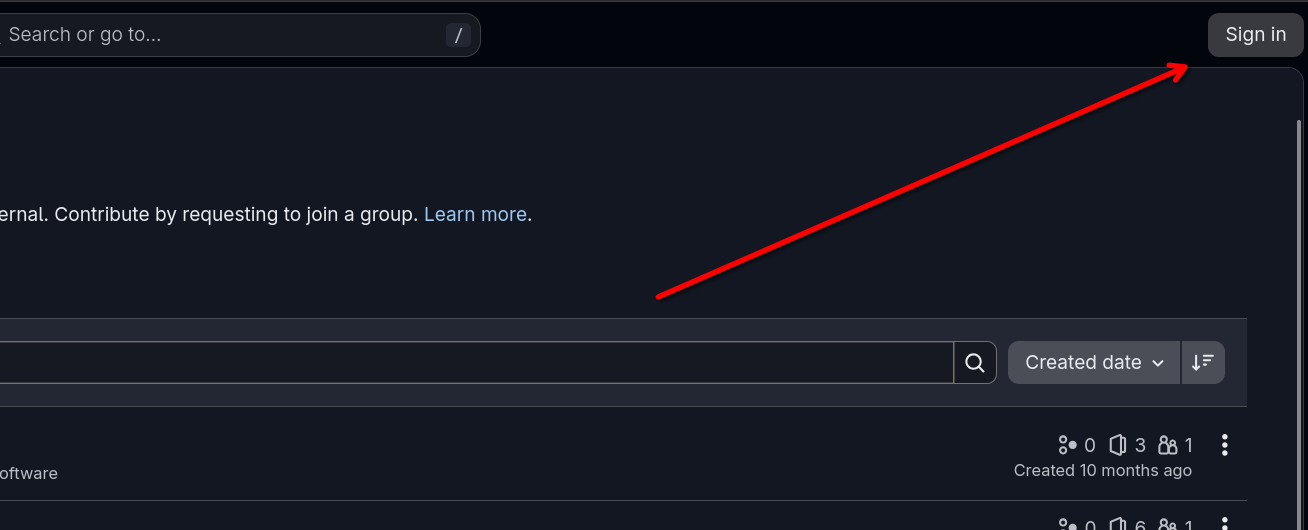
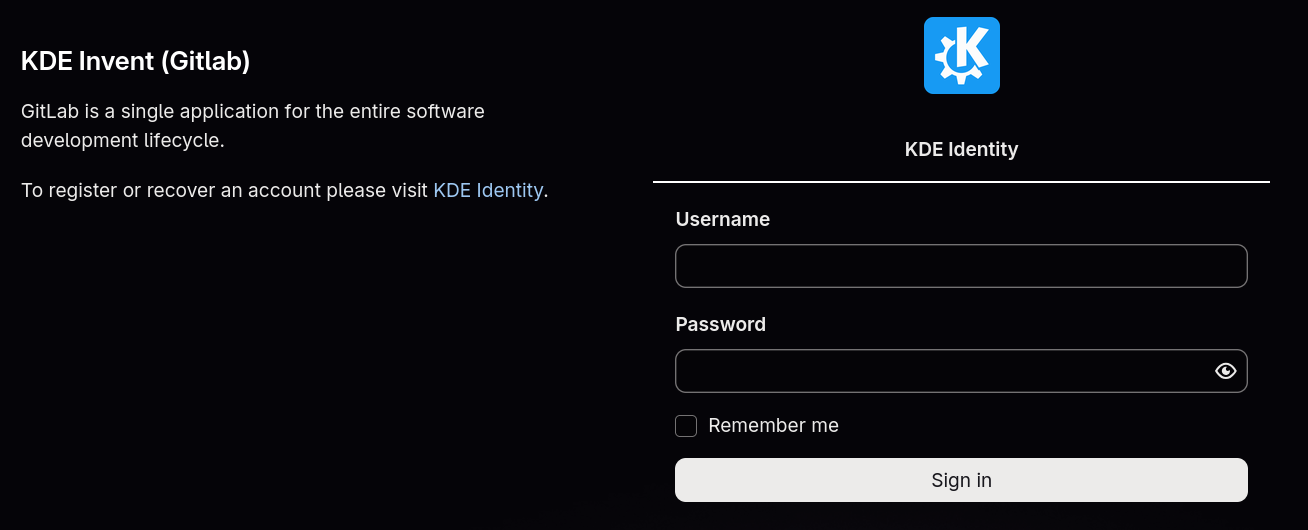
After we are done with all that, we can head to invent.kde.org and login:
Step 4: Setting up git
Inside your dev environment, run the below commands to configure your name and email inside of git. This is important so that your contributions get attributed correctly to you. Please use the name you used in the previous step.
git config --global user.name "Your Name"git config --global user.email "you@email.com"
You may also type the below command to make pushing your changes easier:
git config --global push.autoSetupRemote true
Step 5: Setting up an ssh key
We will setup an ssh key. It is important that you don’t lose/share that key. We will start by typing:
ssh-keygen
Then, inside our dev environment, this will pop up:

You may press enter or give the path of where to save your key. After that, you will be asked to add a passphrase for your key.

You may also just press enter for no passphrase but it is recommended that you have one.
Next up we will need to configure our ssh to use our key when we connect to invent.kde.org.
For that we open your favorite text editor and create a file named ‘config’ in the path ~/.ssh/ inside our dev environment.
nano ~/.ssh/config
We type the following inside the file:
Host invent.kde.org
    Hostname invent.kde.org
    IdentityFile ~/.ssh/id_ed25519
The last line should contain the location of your ssh private key.
After this is done, open the public key file (the one that ends in .pub):
cat ~/.ssh/id_ed25519.pub
We need to copy our public key so that we can paste it afterwards.
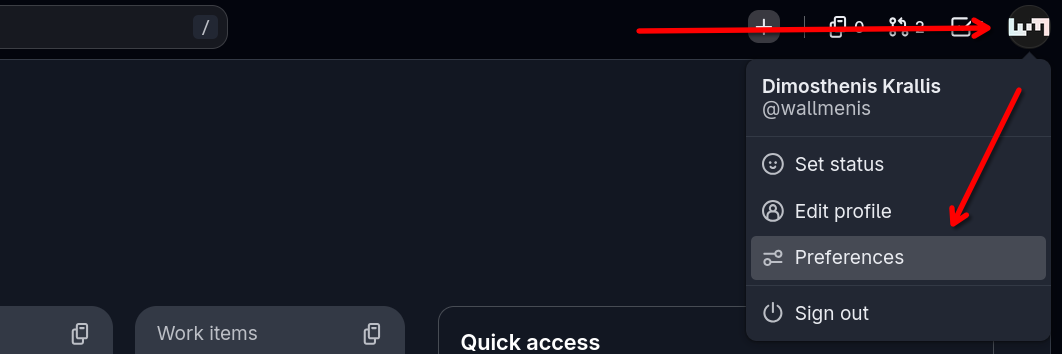
Now, we go to our invent.kde.org settings page by navigating top right, clicking our profile icon and then clicking "Preferences"
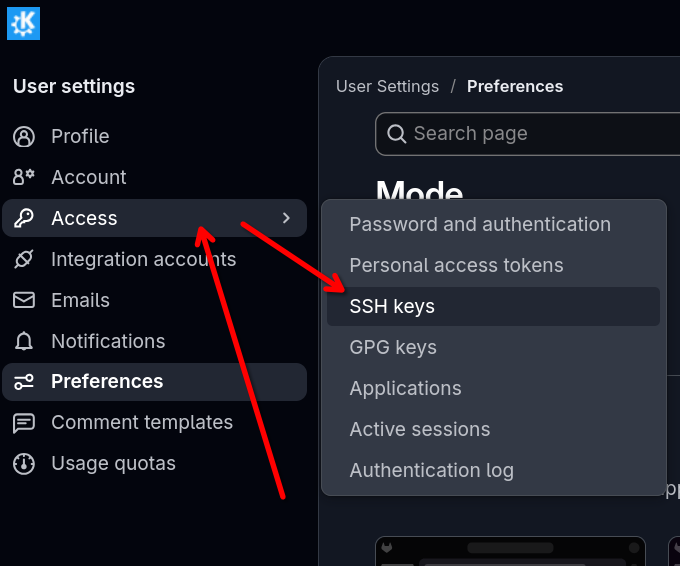
Afterwards we go to "Access" and then "SSH keys".
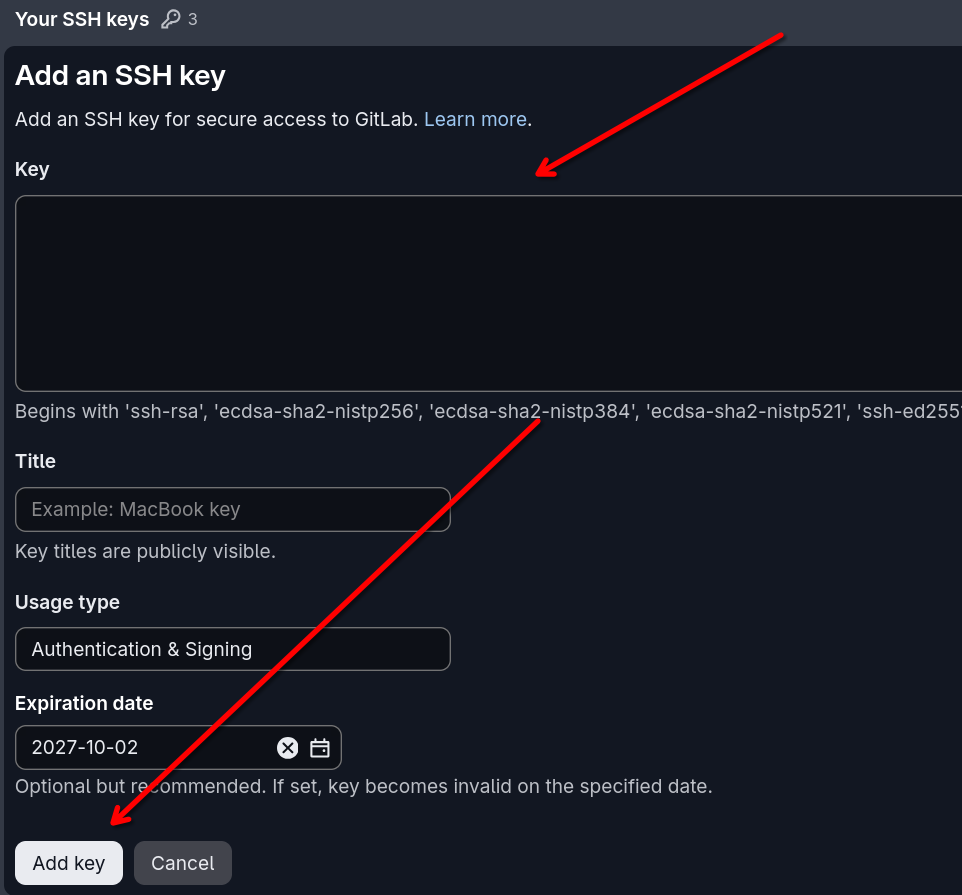
Finally we go to "Add new key".
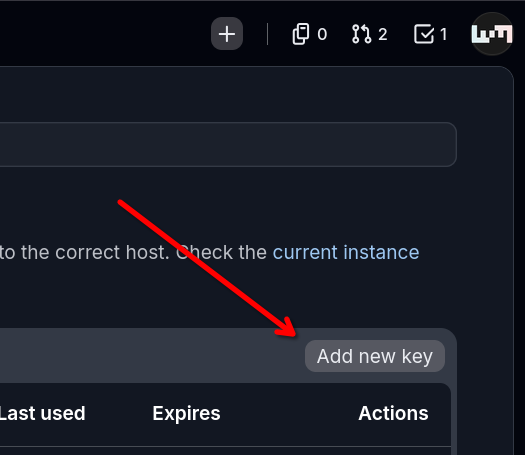
Now we can paste our public key inside the field and click "Add key"
Step 6: Building an application
After our kde-builder instance has done downloading the dependencies, we can build almost any kde app. We will pick Kcalc today because it is an app among the ones with the fewest dependencies. The time this step takes will depend on your computer’s speed : ) So to build it, we just type:
kde-builder kcalc
Step 7: Contributing to an application
In case you are not familiar with the way GitLab works with Merge Requests, don’t worry! We will go through it step by step. So first, let’s pick an application to contribute. We will pick Kcalc again since that is what we are building. Go ahead and enter the page below. It is the repository of Kcalc. https://invent.kde.org/utilities/kcalc
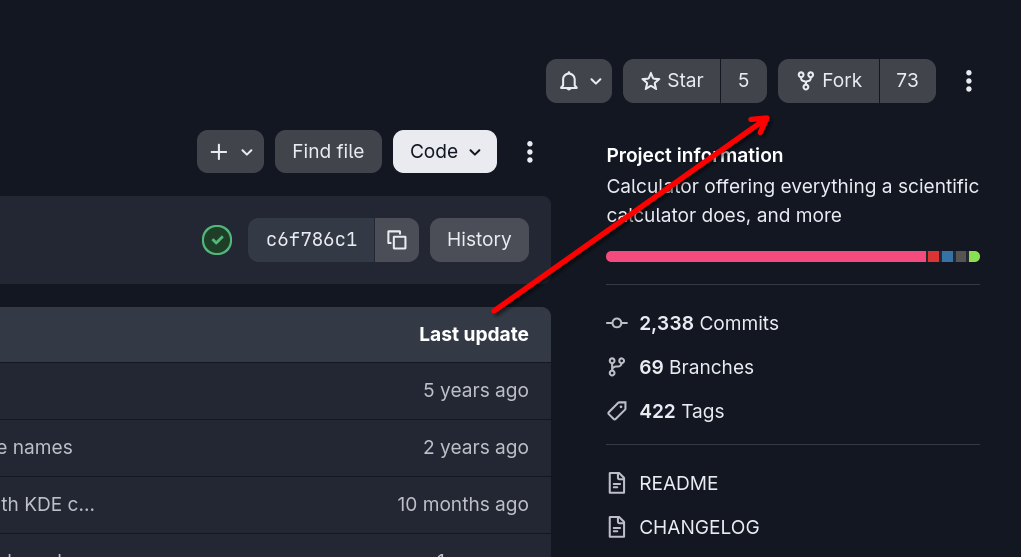
First off, we will need to make a fork of the repository. To do that, we click the "Fork" button at the top-right:
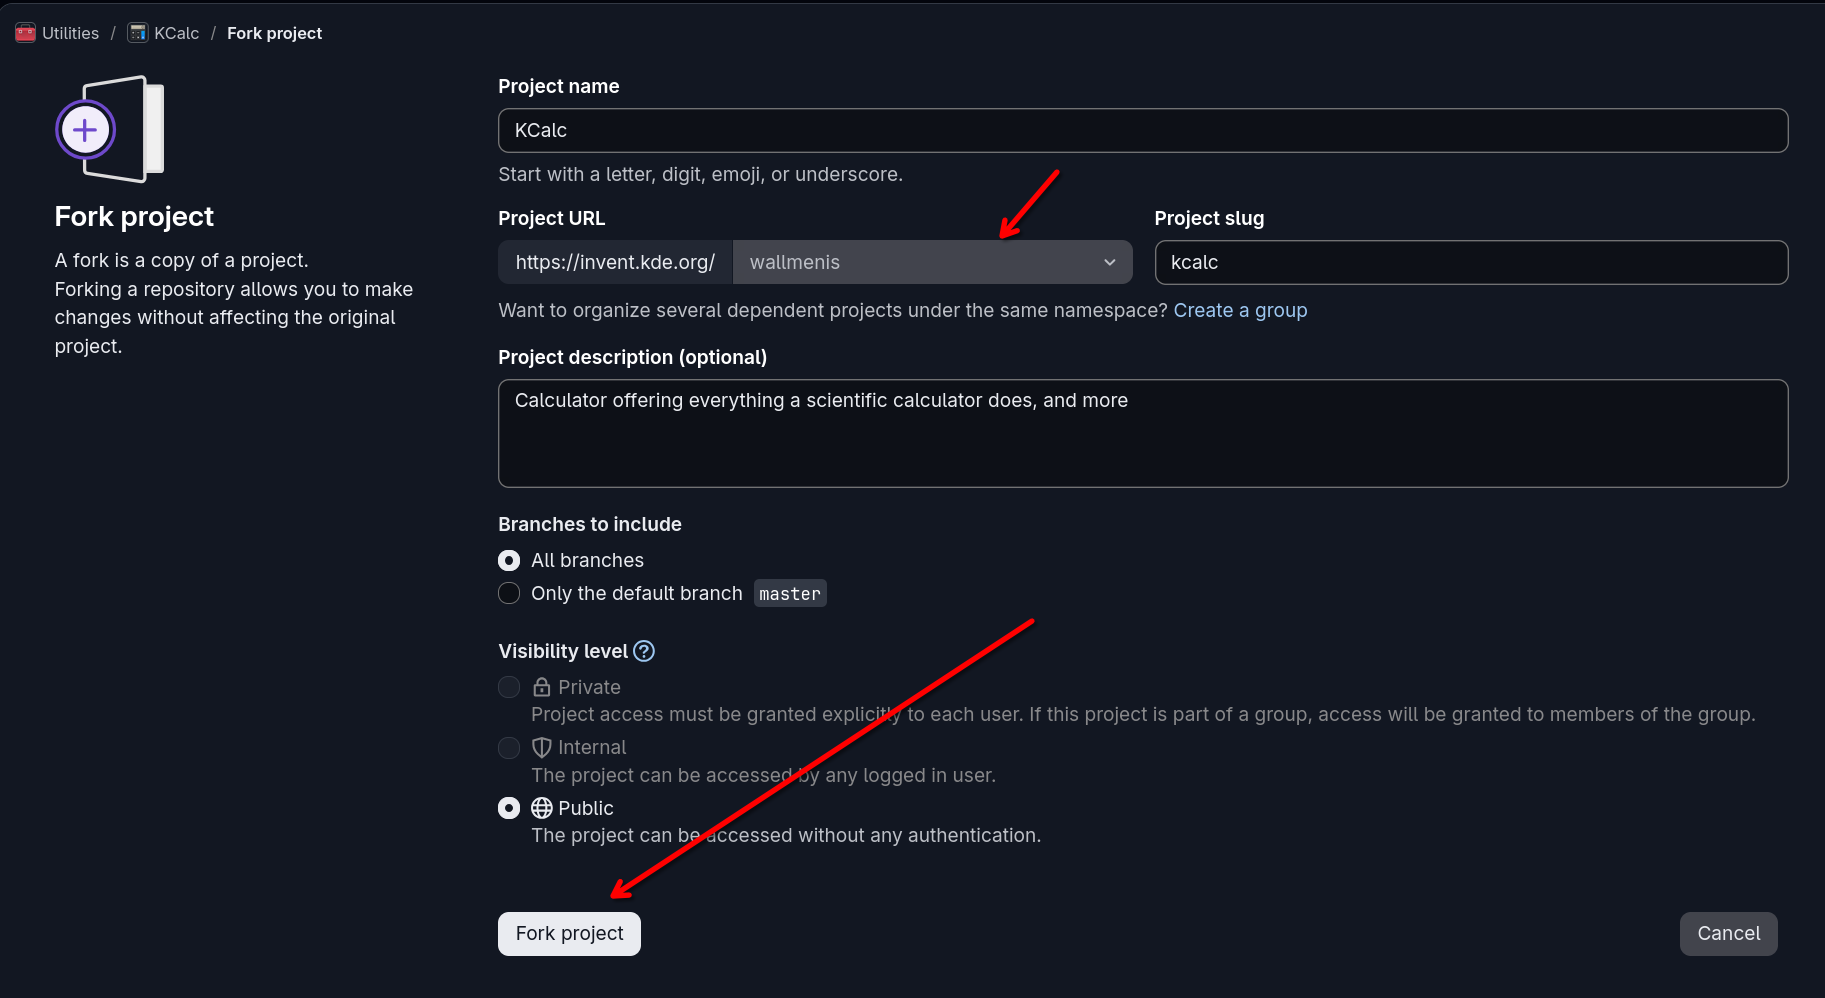
Clicking it, will get us to this page. We need to select namespace (pick your username) and then click "Fork project".
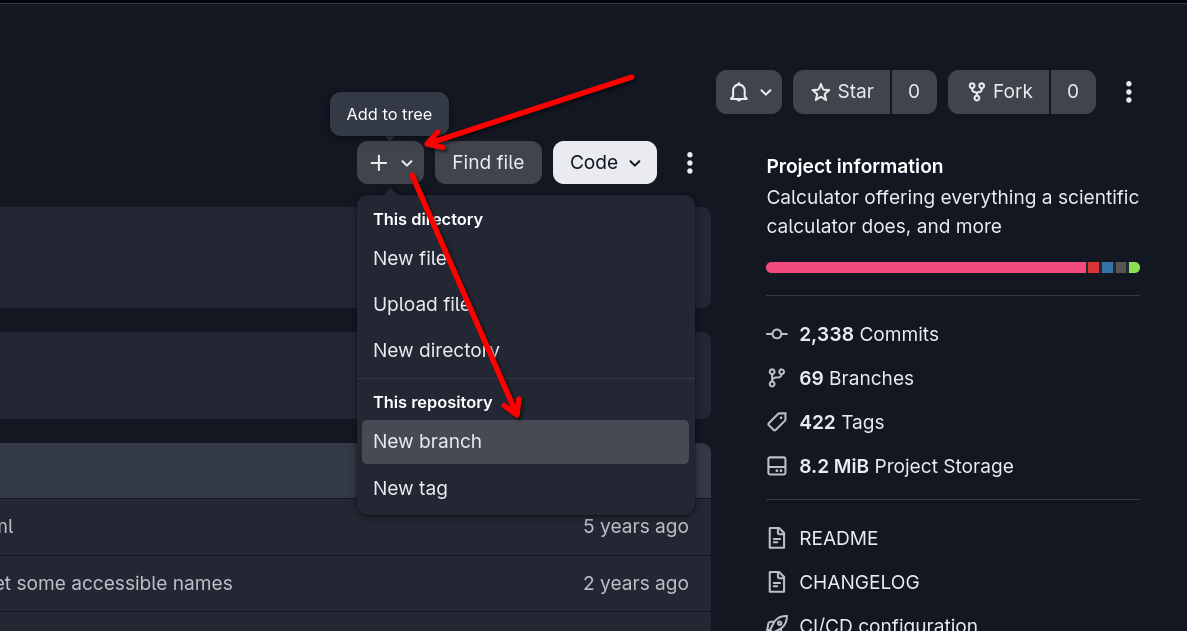
Then we will create a branch inside our fork. To do that, we will click the plus icon on the top right. Then click "New branch".
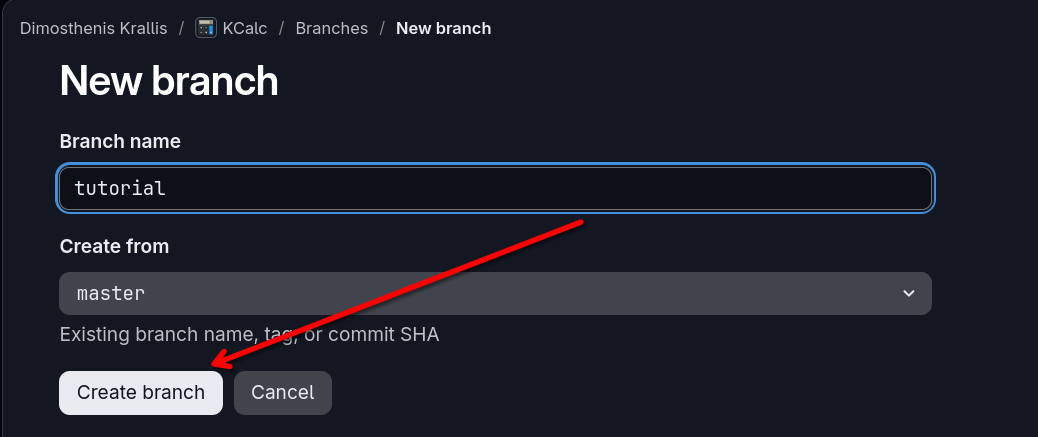
Finally, we can name our branch. The convention for KDE branch naming is work/username/branchname. However, we will just name our branch "tutorial" on this tutorial.
So, after writing the name of our branch in the field, we click "Create branch".
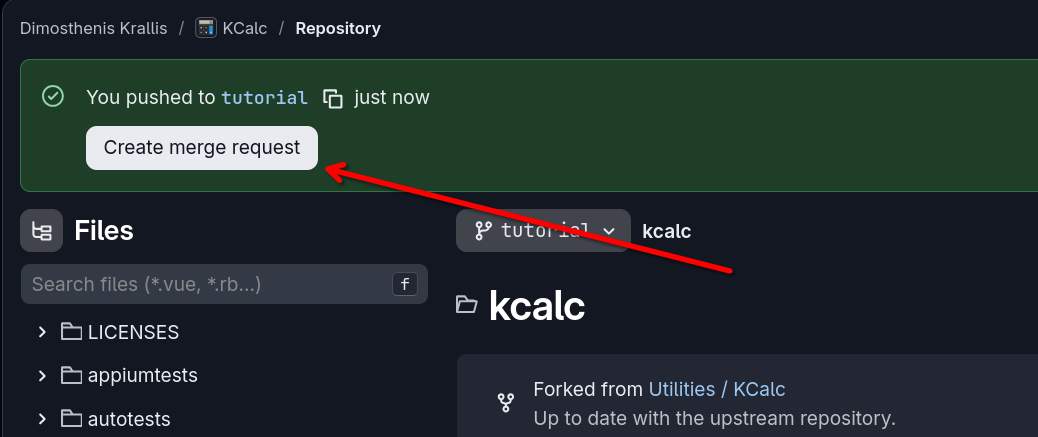
Now, we will create a new merge request. To do that, we can either click the convenient "Create merge request" button on the top left:
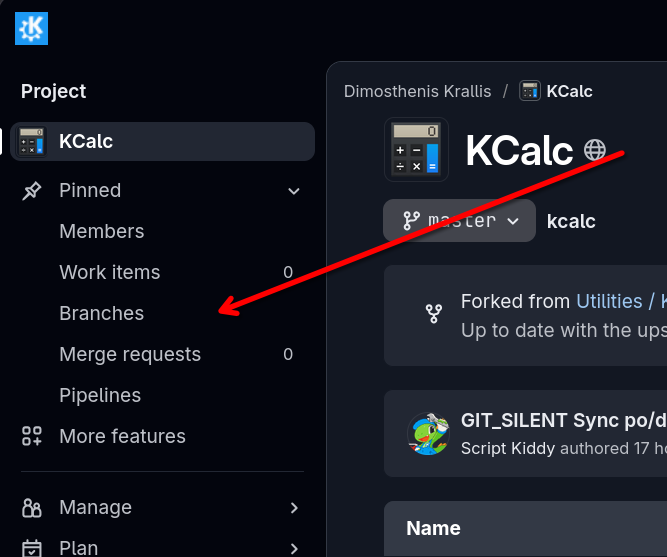
Or go to "Branches":
And then go to click "New" for new branch on the right:
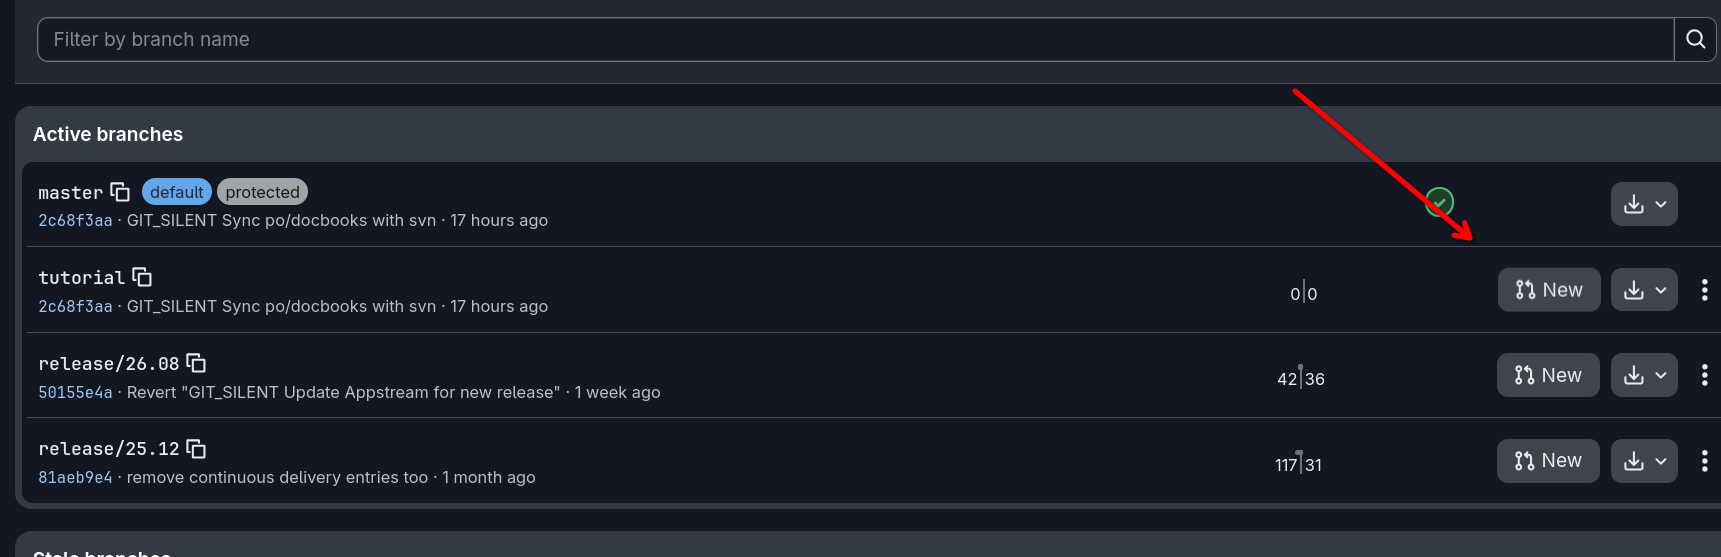
Both paths will lead you to the same page.
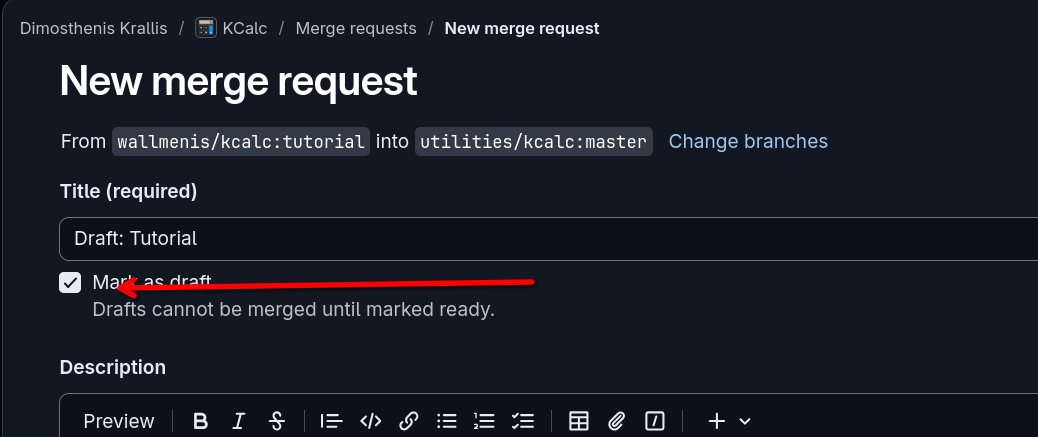
You will first need to untick "Mark as draft" since we don't use it often.
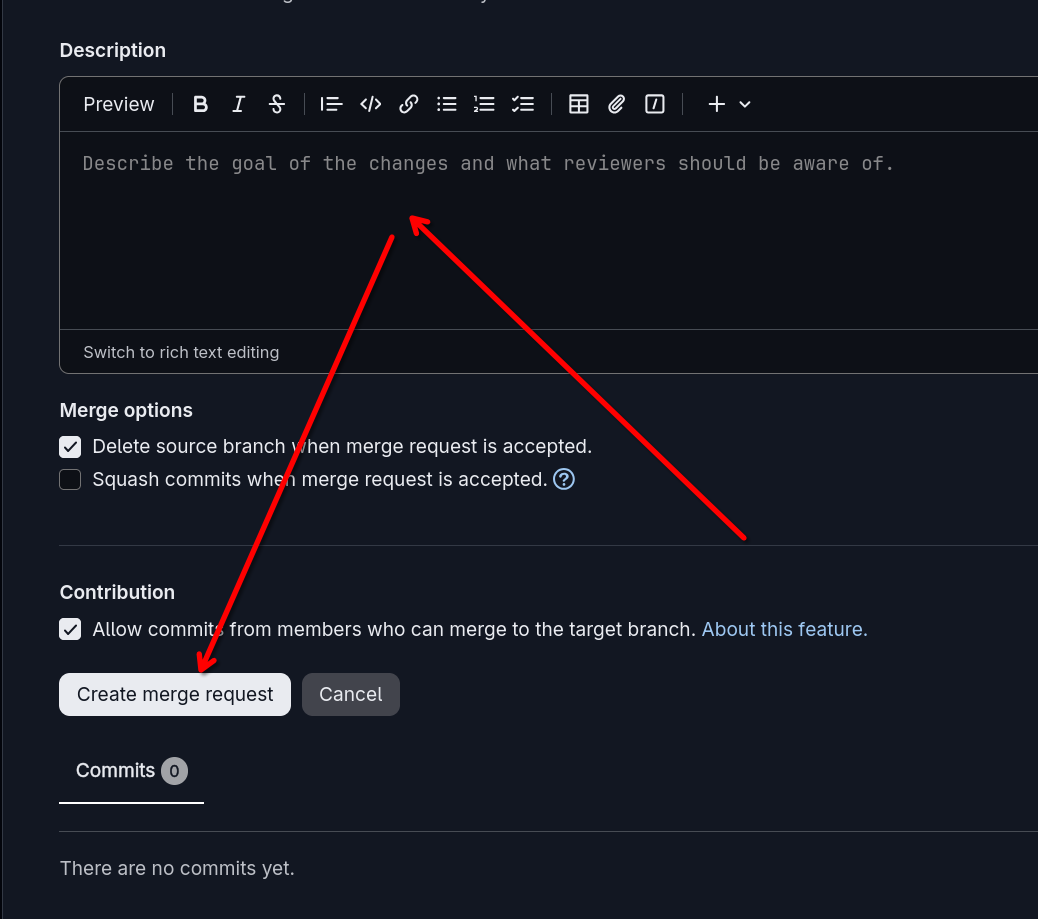
Finally, we type the description of our merge request and then we create it by clicking "Create merge request"!
To push our changes, at the same directory, we do:
git push git@invent.kde.org:wallmenis/kcalc.git tutorial
And to get our changes, we do the same command except we do pull:
git pull git@invent.kde.org:wallmenis/kcalc.git tutorial
In the meantime, you may add comments to your merge request so that you can explain the changes you have made and why they are important.
Congratulations! You did it!
Now go out there and show the world your nice contributions to KDE!